
How to Apply EKG Electrode Pads?

To properly apply EKG electrode pads, you must first prepare the skin by cleaning and, if needed, shaving the area, then carefully place each pad in the correct anatomical position for accurate heart rhythm monitoring.
Getting the placement right is really important for a clear and reliable EKG reading. Incorrect placement can lead to confusing results or even a need to repeat the test. We found that attention to detail during application helps ensure the best possible diagnostic information.
- Prepare skin for good adhesion.
- Identify correct anatomical locations.
- Apply pads firmly but gently.
- Connect lead wires securely.
Let’s walk through exactly how to apply EKG electrode pads, step by step, to ensure you get it right every time.
Getting Your EKG Electrode Pads On Right
Applying EKG electrode pads correctly is key for an accurate heart tracing. You’ll need to prepare the skin, find the right spots, and press them down firmly. This process ensures the electrical signals from your heart are picked up clearly.
Gathering Your Supplies
Before you start, make sure you have everything you need within reach. It’s like preparing for a cooking show – you don’t want to be scrambling mid-recipe! Having your supplies ready makes the process smooth and efficient.
What You’ll Need
- Fresh EKG electrode pads (check the expiration date!).
- Alcohol wipes or skin prep solution.
- Gauze pads or a clean cloth.
- Scissors or a razor (if hair removal is needed).
- Gloves (for hygiene and safety).
- The EKG machine with its lead wires.
Using fresh pads is important. Old or dry pads won’t stick well, and that can really mess up your reading.
Preparing the Skin for Optimal Adhesion
Think of the skin as a canvas; you want it clean and smooth for the best “artwork.” Proper skin prep is often overlooked, but it’s a huge factor in getting a good EKG. We found that this step prevents a lot of headaches later on.
Cleaning the Application Sites
First, identify where the pads will go. Then, clean those areas. Use an alcohol wipe or skin prep solution to remove any oils, lotions, or sweat. These substances act like a barrier, making it hard for the pads to stick and conduct signals.
- Wipe vigorously: Don’t just dab. A good scrub helps remove dead skin cells too.
- Let it dry completely: Applying pads to wet skin is a no-go. Air dry or gently pat with gauze.
Many experts say that clean, dry skin is the foundation of a reliable EKG (Cleveland Clinic).
Hair Removal Considerations
Hair can prevent electrode pads from making good contact with the skin. If there’s a lot of hair where the pads need to go, it’s best to remove it.
- Trim or shave: Use electric clippers or a clean razor. Be gentle to avoid nicks and cuts.
- Wipe again: After shaving, wipe the area with an alcohol pad one more time to remove any stray hairs and skin debris.
We found that a quick shave can make all the difference, especially on a chest with significant hair growth. This ensures a strong, consistent connection.
Understanding EKG Lead Placement (The 10-Lead System)
This is where it gets a little technical, but don’t worry, we’ll break it down. Correct placement isn’t just a suggestion; it’s critical for getting accurate diagnostic information about the heart’s electrical activity. There are 10 electrodes in total for a standard 12-lead EKG, but two of them are “limb leads” that don’t go on the chest.
Limb Lead Placements (4 Electrodes)
These four electrodes are usually placed on the limbs, away from major muscle groups to minimize interference. They provide a foundational view of the heart’s electrical axis.
- RA (Right Arm): Place on the right arm, usually below the shoulder or near the wrist.
- LA (Left Arm): Place on the left arm, in a similar position to the RA.
- RL (Right Leg): Place on the right leg, usually on the calf or ankle.
- LL (Left Leg): Place on the left leg, in a similar position to the RL.
The goal is to place them on fleshy, non-bony areas. If a limb is missing, you can place the electrode on the torso as close as possible to the limb’s origin (NIH).
Precordial Lead Placements (6 Electrodes)
These six electrodes are placed directly on the chest and give a detailed view of the heart from different angles. This is where precision really counts.
| Electrode | Location | Why it Matters |
|---|---|---|
| V1 | 4th intercostal space, right sternal border | Views the right ventricle |
| V2 | 4th intercostal space, left sternal border | Views the right ventricle |
| V3 | Midway between V2 and V4 | Views the interventricular septum |
| V4 | 5th intercostal space, midclavicular line | Views the apex of the left ventricle |
| V5 | Left anterior axillary line, same horizontal level as V4 | Views the anterior wall of the left ventricle |
| V6 | Left mid-axillary line, same horizontal level as V4 and V5 | Views the lateral wall of the left ventricle |
Finding the intercostal spaces (the spaces between the ribs) can be a bit tricky. Feel for the sternal notch at the top of your breastbone, then slide your fingers down to locate the ribs. The second rib is usually palpable, and from there you can count down. Always double-check your landmarks!
Applying the EKG Electrode Pads
Once the skin is prepped and you know your spots, it’s time to apply the pads. This isn’t a race; take your time. A little care here prevents a lot of re-dos.
Technique for Firm Adhesion
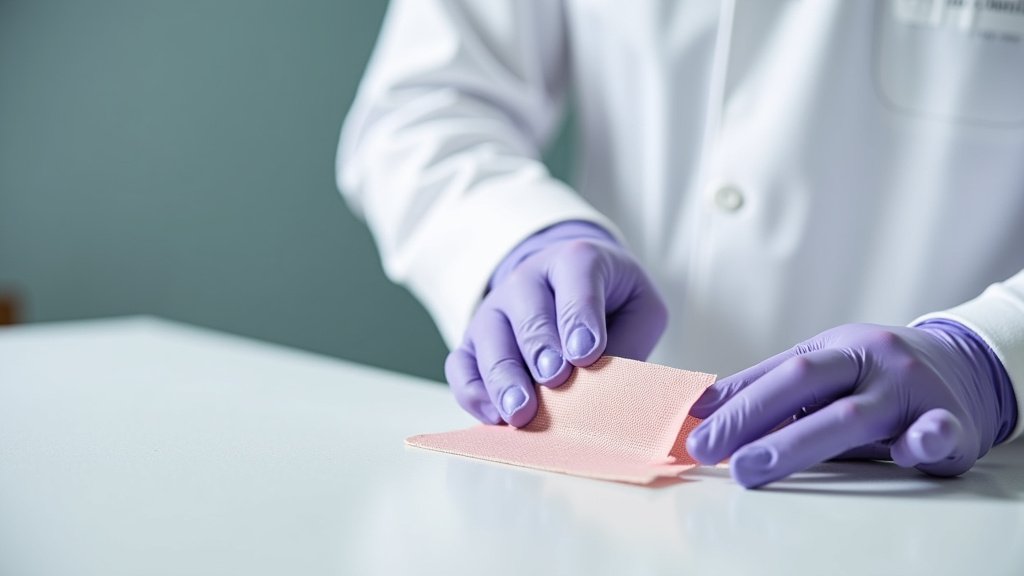
Peel the backing off the electrode pad. Try to touch the adhesive as little as possible. The oils from your fingers can reduce stickiness. Place the pad firmly onto the skin.
- Apply pressure: Press down on the entire pad, especially around the edges, for a few seconds. This helps ensure good contact.
- Avoid air bubbles: Smooth out any air bubbles underneath the pad. Air pockets can interfere with signal transmission.
We found that a gentle but firm press is much better than a quick slap. It helps the gel make good contact with the skin.
Connecting the Lead Wires
With all the pads in place, the final step before the reading is connecting the lead wires from the EKG machine to the electrodes. Each lead wire is typically color-coded and labeled (e.g., RA, LA, V1, V2).
- Match colors/labels: Connect the correct lead wire to its corresponding electrode pad. This seems obvious, but a quick double-check can save you from a confusing EKG tracing.
- Secure connection: Ensure the clip or snap on the lead wire is securely attached to the electrode. A loose connection is a common cause of artifact (noise) on the EKG.
- Minimize tension: Arrange the wires so there’s no pulling or tugging on the electrode pads. This reduces the chance of them falling off or creating movement artifact.
Think of it like plugging in a lamp – you want a solid connection, not a flickering light. This step brings all your careful preparation together.
Quick Checklist for Success
Before you hit the record button on your EKG machine, run through this quick mental checklist. It’s like a final glance before you leave the house – just making sure everything is in order!
- Skin is clean, dry, and hair-free?
- All 10 pads are firmly attached with no air bubbles?
- Pads are in the correct anatomical locations?
- Lead wires are connected securely to the correct pads?
- No tension or tugging on any of the wires or pads?
Following these steps will significantly improve the quality and reliability of your EKG reading. You’re doing a great job ensuring the best possible outcome!
Conclusion
You’ve seen how a bit of careful attention goes a long way when applying EKG electrode pads. From meticulous skin prep to precise lead placement, each step is vital for an accurate reading. We found that skipping steps often leads to frustrating re-tests and unclear results.
By following these guidelines, you’re helping ensure the EKG machine captures your heart’s electrical activity clearly and reliably. This level of detail provides the best diagnostic information possible. Take pride in your careful application; your efforts make a real difference in patient care.
Frequently Asked Questions
What if the EKG pads don’t stick well?
Poor adhesion is usually due to inadequate skin preparation. Re-clean the area thoroughly with an alcohol wipe to remove oils or lotions. If skin is still damp, let it air dry completely before applying a fresh pad. Sometimes, the pads themselves might be expired or dried out, so always check the expiration date.
Can I place EKG pads over a tattoo?
It’s generally best to avoid placing EKG pads directly over tattoos if possible. Tattoo ink can sometimes interfere with electrical conduction, potentially affecting the quality of the EKG signal. If you must place a pad over a tattoo, ensure excellent skin contact and be prepared for possible signal artifact.
How do I know I’ve found the correct intercostal space for V1 and V2?
Start by feeling for the sternal notch at the very top of the breastbone. Slide your fingers down to find the raised ridge of the sternal angle, which is typically aligned with the second rib. Count down from there to locate the fourth intercostal space. Practice makes this identification easier and more accurate.
What causes artifact or “noise” on an EKG reading?
Artifact can come from several sources. Common causes include poor skin preparation, loose electrode pads, movement from the person being tested, muscle tremors, or electrical interference from other equipment. Make sure all connections are secure and the person is still. Re-prepping the skin and changing pads often helps.
Are there different types of EKG electrode pads?
Yes, there are various types, including solid gel, wet gel, and foam pads. Solid gel pads are often preferred for convenience and less skin irritation for short-term monitoring. Wet gel pads provide excellent conductivity but can be messier. Foam pads are commonly used for general purpose EKGs and provide good adhesion.

